Halloween Bat Craft for Kids
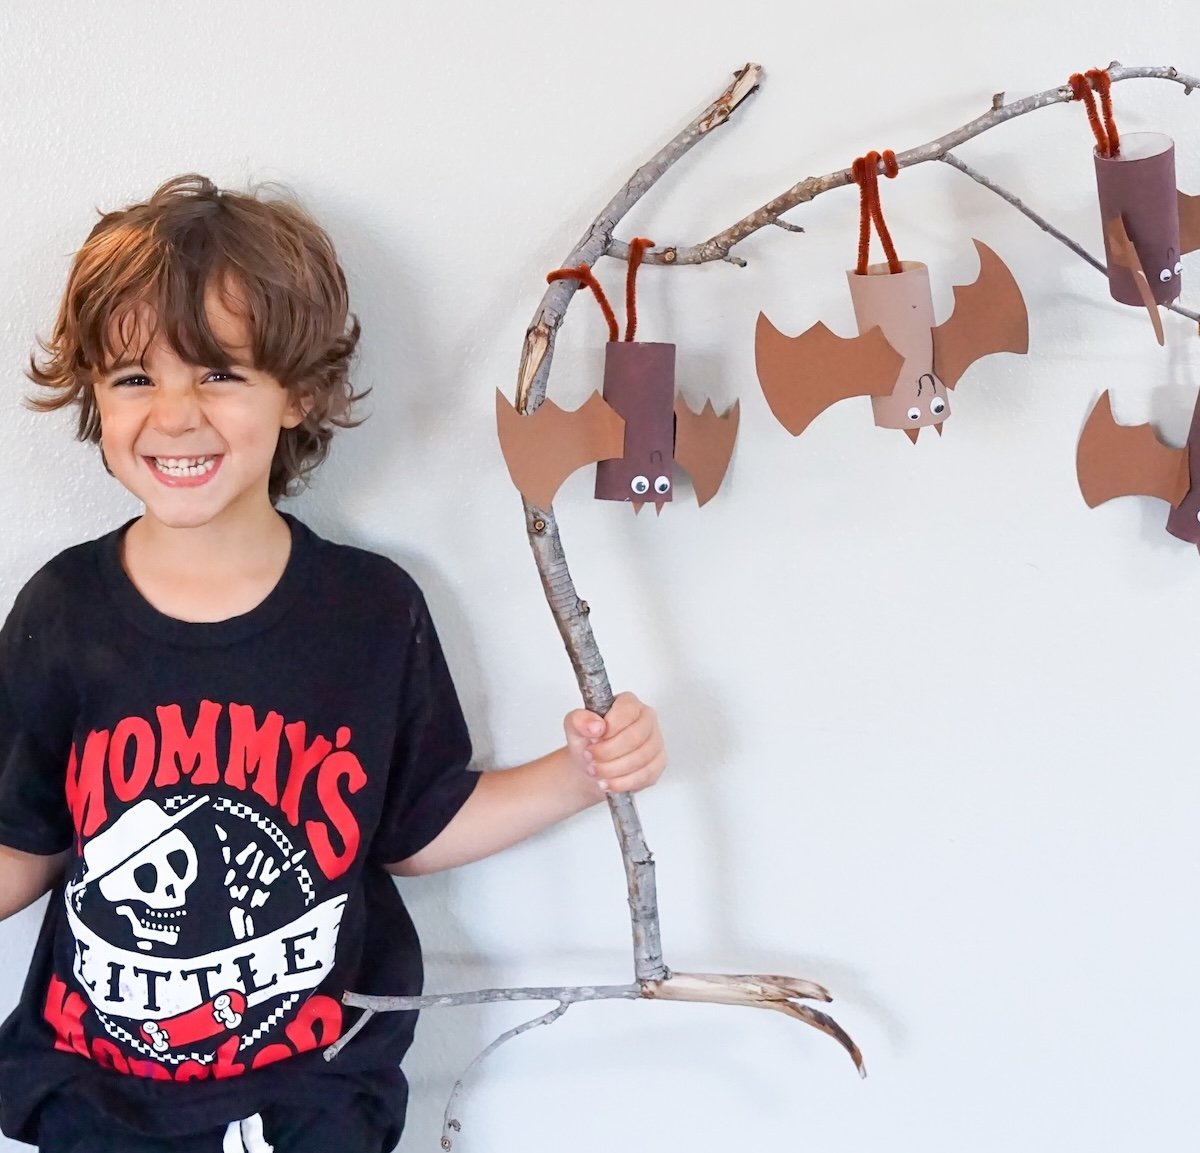
Halloween crafts don’t have to be complicated—or scary—to be fun. This year, my four-year-old and I made a little colony of bats, and I can confidently say it was one of the easiest (and cutest) projects we’ve ever done together. Using a few everyday supplies, we turned empty toilet paper rolls into upside-down bats that now hang from foraged branches in our living room.
What You’ll Need
Toilet paper rolls
Brown paint (or markers if you want less mess)
Cardstock or construction paper (for the wings and ears)
Googly eyes
Pipe cleaners (for hanging)
Hot glue
Scissors
Sharpie for drawing mouthes
A stick or branch (we had fun foraging for ours!)
How to Make Them
Paint the bodies: Start by painting the toilet paper rolls brown and let them dry. Kids love this step—it’s messy in the best way.
Cut the wings: Draw a bat wing shape on cardstock and cut it out. We used one wing as a template for the rest.
Attach wings: Glue the wings to the sides of the painted rolls.
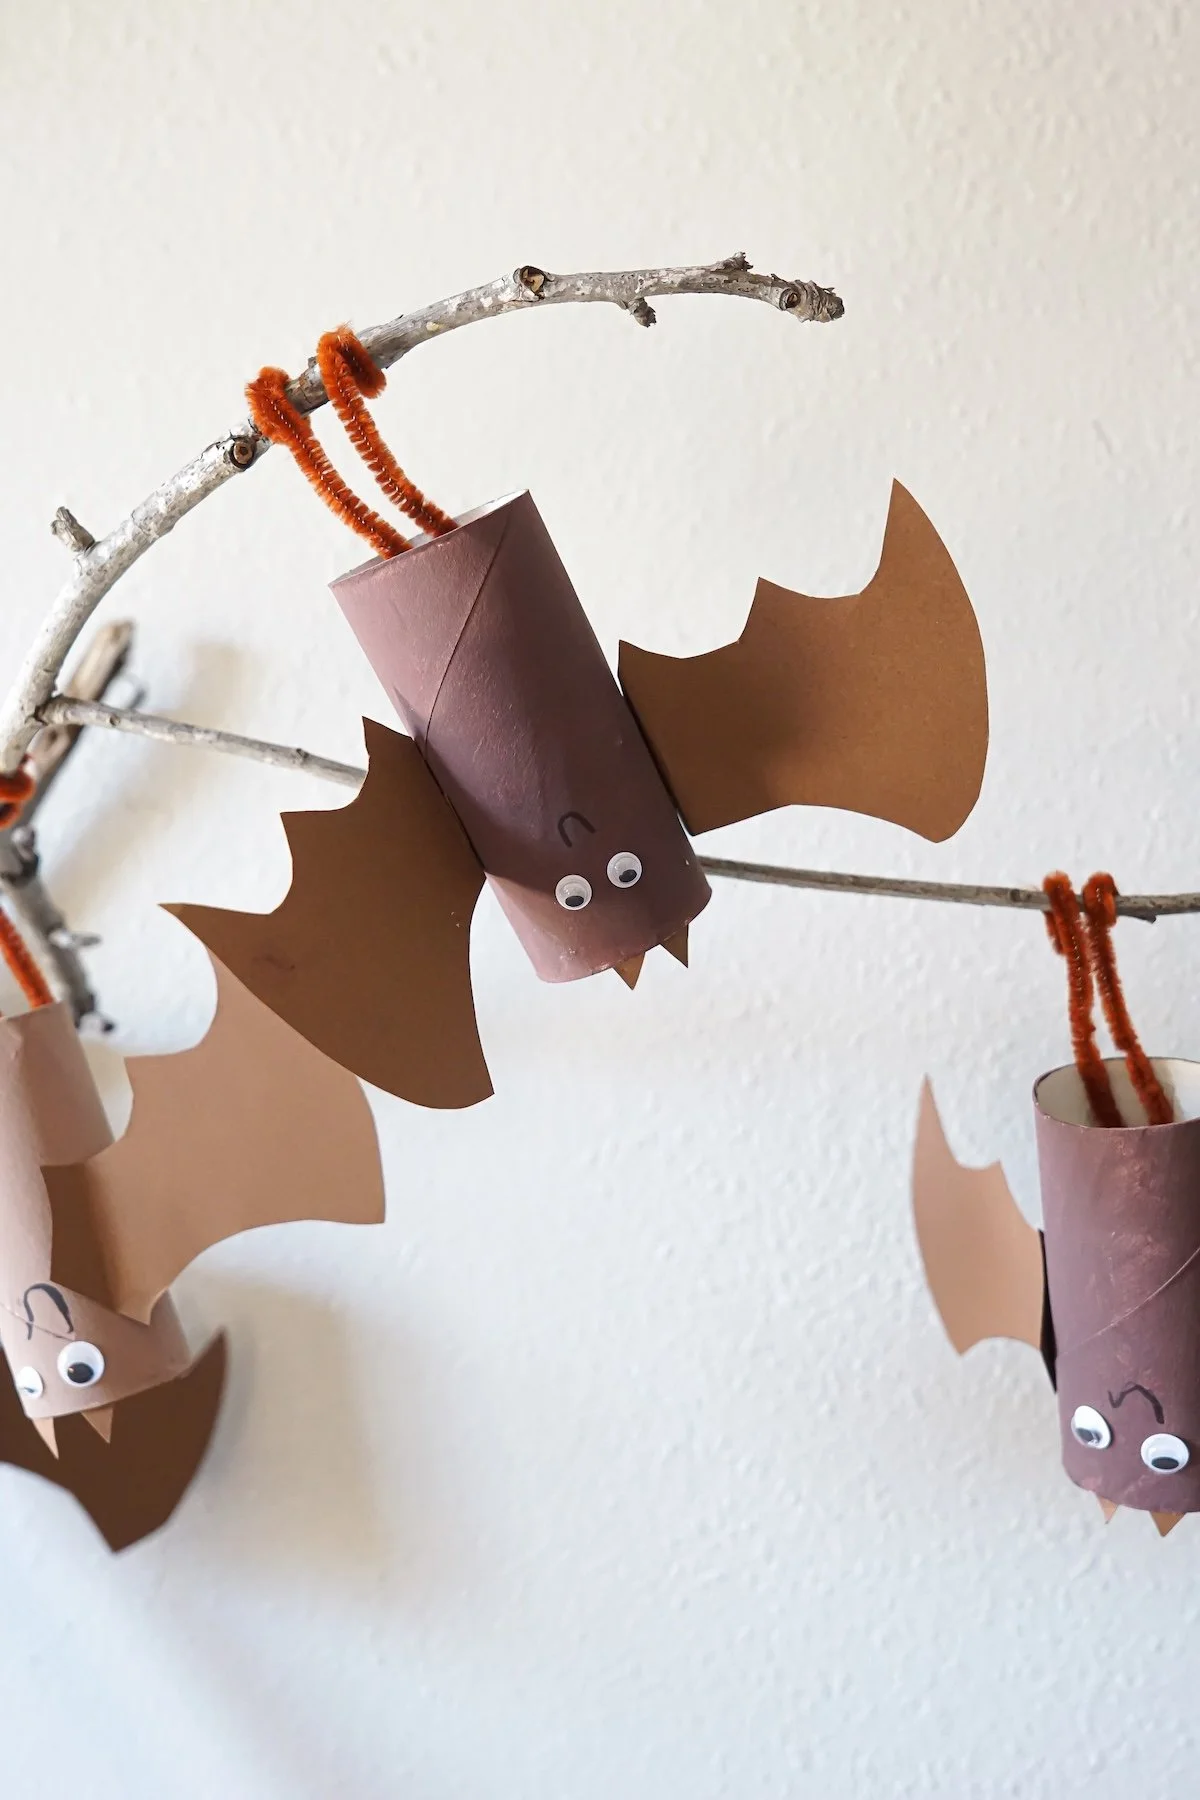
Add personality: Stick on googly eyes, cut out little triangles for ears, and glue them onto the “head.” My kiddo added some doodles too—every bat ended up with its own personality.
Make them hang: Take a pipe cleaner and fold it in half. Glue the folded end inside the pipe cleaner. This lets the bats hang upside down, just like the real thing.
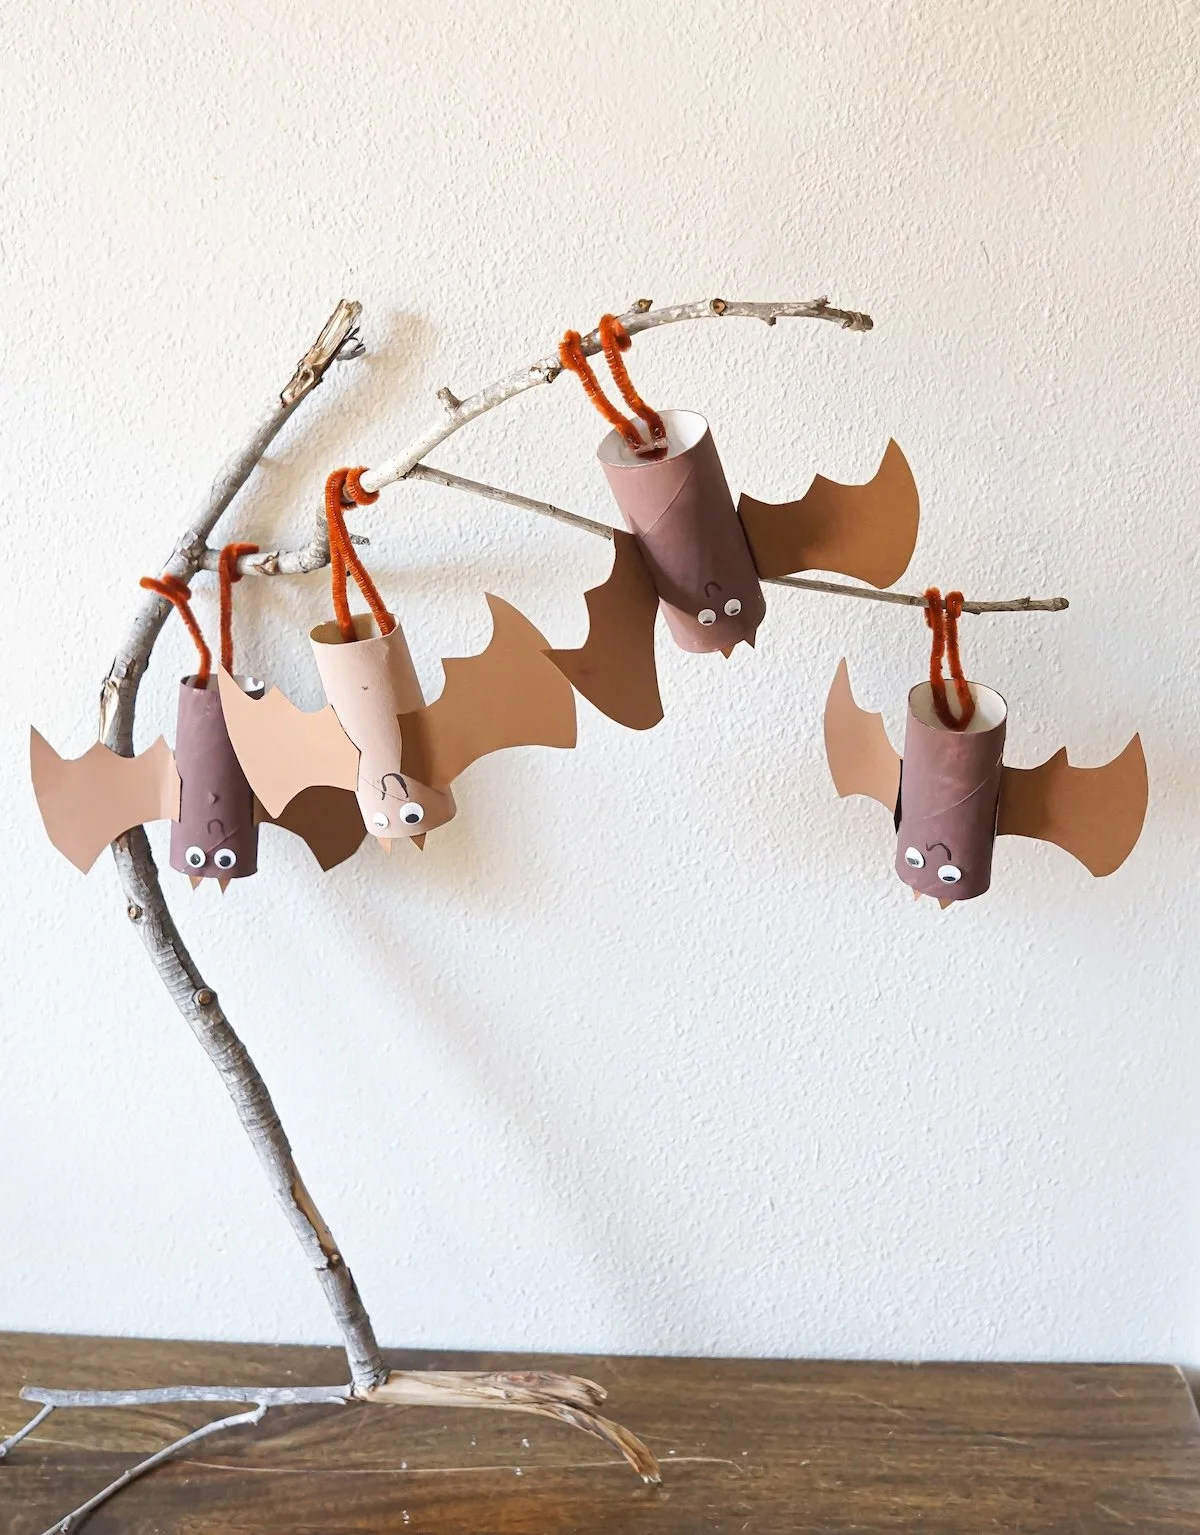
Find them a home: We brought our project outside for a little nature walk and picked out sticks to hang the bats from. The finished display feels like a spooky little bat tree.